Peanut Butter Witch Hat Cookies - A Fun and Easy Treat for Halloween
This post may include affiliate links for products or services. This means that if you click on an affiliate link and purchase the item, I may receive an affiliate commission. For more information, check out the disclosure here.

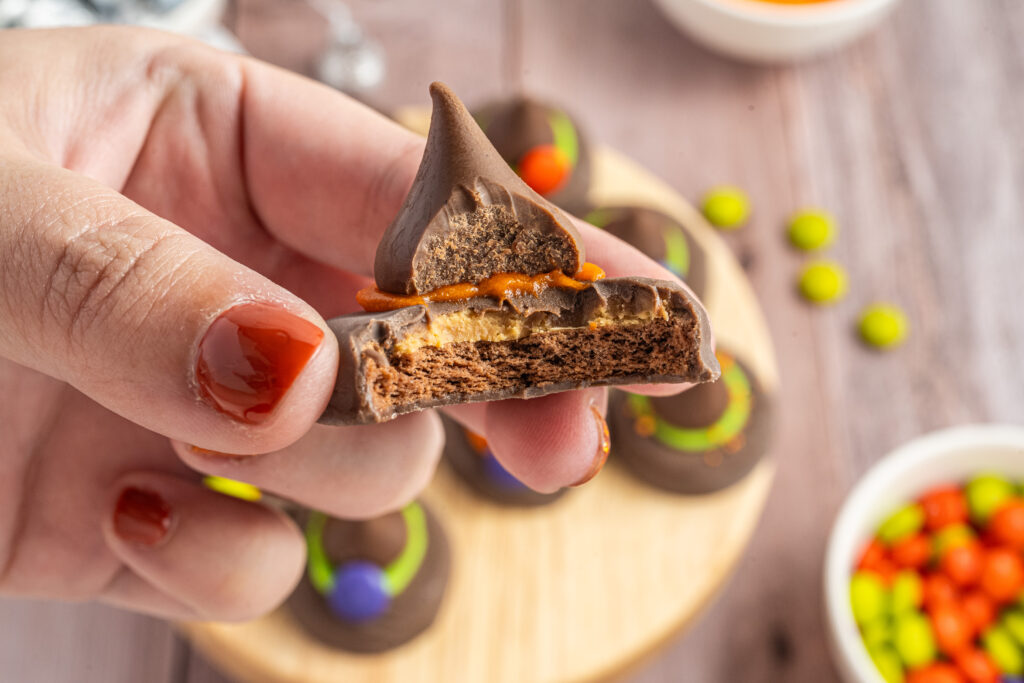
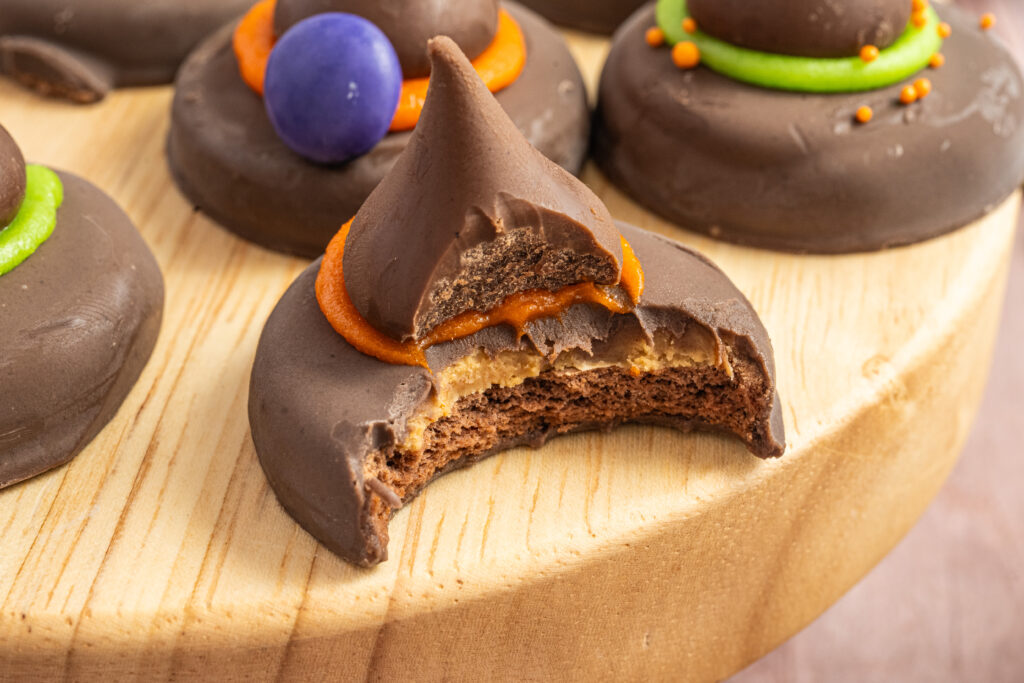
If you need a fun and easy treat for Halloween that kids will love to put together, look no further than these Peanut Butter Witch Hat Cookies! No oven, stove, or mixing bowls required.
What ingredients do I need to make Peanut Butter Witch Hat Cookies?
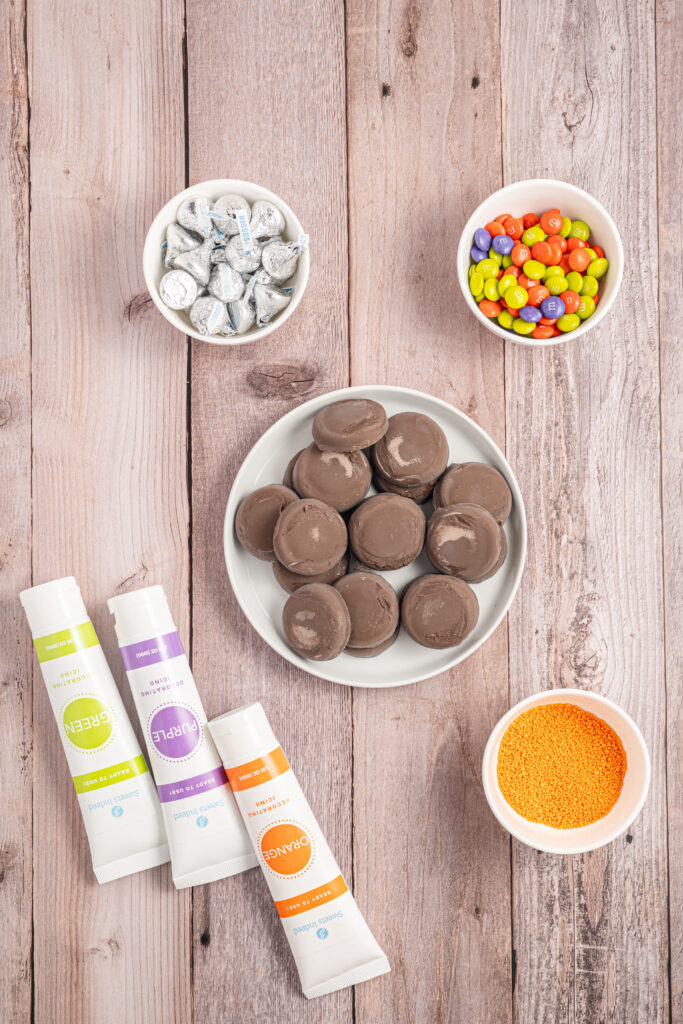
Peanut Butter Fudge Covered Cookies - Like Tagalongs or store-brand peanut butter cookies.
Decorating or cookie icing - For easy clean up and convenience, grab the tubes of icing that you can find on the baking aisle. Mix and match the colors with green, purple, and orange for Halloween.
Chocolate Kisses - The shape of these candies make them perfect for forming the top of the witch hats.
M&M Chocolate Candies - A colorful finishing touch. I like to use the Ghoul Mix M&Ms that you can find in most grocery stores during the Halloween season.
Orange or Halloween Sprinkles, optional - Instead of M&Ms you can use sprinkles to decorating the icing. Or use both!
What equipment do I need to make Peanut Butter Witch Hat Cookies?
You'll only need a cutting board or baking sheet lined with parchment paper to place the cookies on while you assemble them.
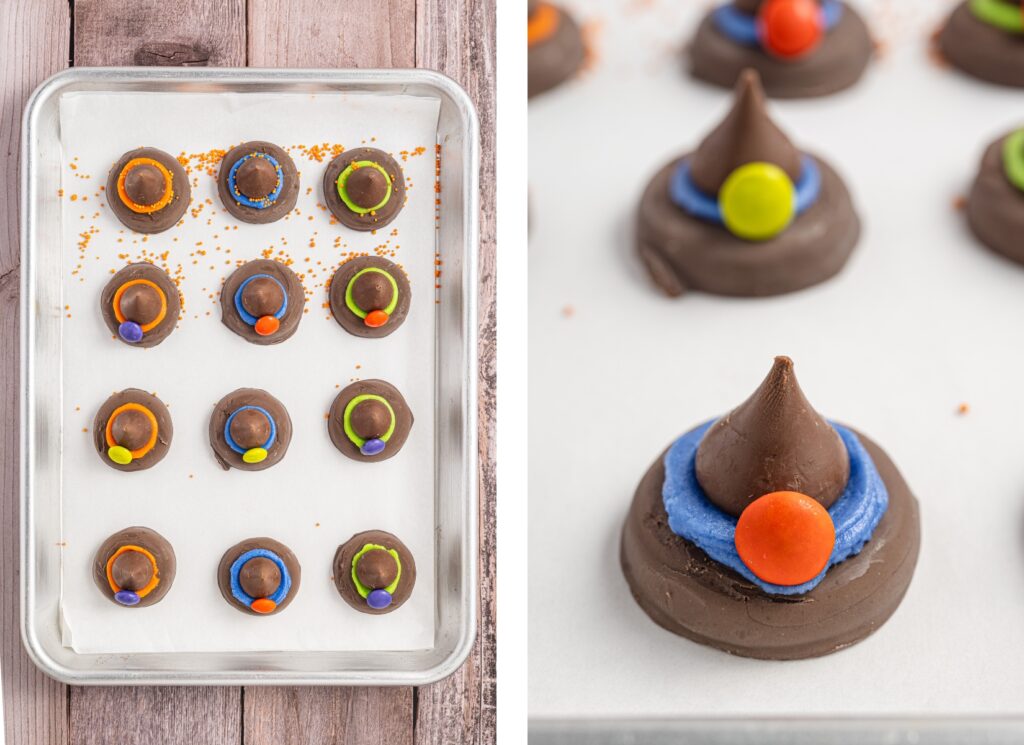
How do I assemble Peanut Butter Witch Hat Cookies?
Lay out the peanut butter cookies on a parchment-lined cutting board or baking sheet.
Squeeze about a ¼ teaspoon of decorating icing in the middle of the top of the cookies. It's okay if it's not perfectly neat.
Press one chocolate kiss on top of the icing, carefully pushing the icing around the base of the kisses.

Place 1 M&M chocolate candy on the front of each kiss in the icing or sprinkle some Halloween sprinkles onto the icing.
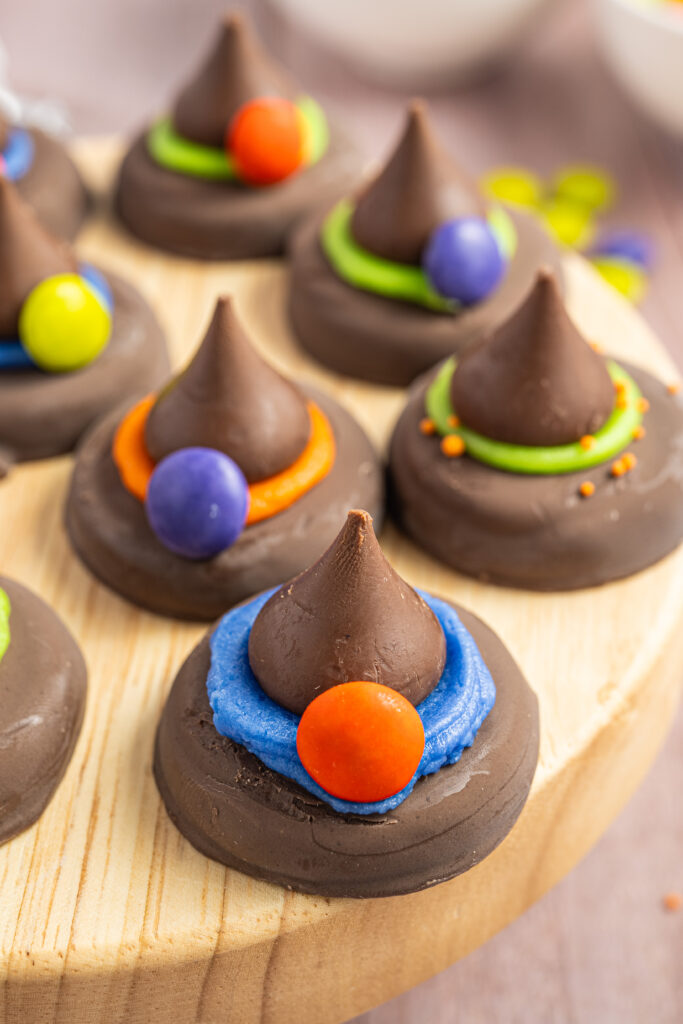
Serve the Peanut Butter Witch Hat Cookies at room temperature. Store in an airtight container on the counter at room temperature or in the fridge to keep the chocolate from getting melty.
What kind of substitutions can I make?
You can use Oreos or upside down fudge-striped cookies instead of peanut butter cookies. Peanut butter cookies that aren't fudge-dipped can also be used.
If you have trouble finding Halloween colored decorating or cookie icing, you can divide a tub of white frosting and use some food coloring to mix together a few different colors and place them in some piping bags.
Use Reese's Pieces instead of M&Ms on the front of the hats.
How do I store Peanut Butter Witch Hat Cookies?
Place the cookies in an airtight container and leave them on the counter at room temperature for up to 4 days, in the fridge for 7 days, or in the freezer for up to 3 months. If you store them in the freezer, thaw them out in the fridge overnight before serving.
Tips for making Peanut Butter Witch Hat Cookies!
Chilling the chocolate covered cookies and kisses in the fridge for 2 hours before handling them with your fingers will help keep them from smearing or being too messy while you assemble them.
You don't have to pipe the icing onto the cookies too neatly since you'll press the kisses on top.
This is a fun and edible treat for kids 4 and older to enjoy!

Peanut Butter Witch Hat Cookies
Equipment
- Cutting Board or Baking Sheet
- Parchment paper
Ingredients
- 1 7-ounce box or package of chocolate covered peanut butter cookies, about 15 cookies
- 15 chocolate kisses
- 3 4.25-ounce tubes cookie or decorating icing, green, orange, and purple or Halloween colors
- 15 M&M chocolate candies Halloween colors
- Halloween sprinkles optional
Instructions
- Lay out the peanut butter cookies on a parchment-lined cutting board or baking sheet.
- Squeeze about a ¼ teaspoon of decorating icing in the middle of the top of the cookies. It's okay if it's not perfectly neat.
- Press one chocolate kiss on top of the icing, carefully pushing the icing around the base of the kisses.
- Place 1 M&M chocolate candy on the front of each kiss in the icing or sprinkle some Halloween sprinkles onto the icing.
- Serve at room temperature. Store in an airtight container on the counter at room temperature or in the fridge to keep the chocolate from getting melty.
Notes
- Chilling the chocolate covered cookies and kisses in the fridge for 2 hours before handling them with your fingers will help keep them from smearing or being too messy while you assemble them.
- You don't have to pipe the icing onto the cookies too neatly since you'll press the kisses on top.
- This is a fun and edible treat for kids 4 and older to enjoy!