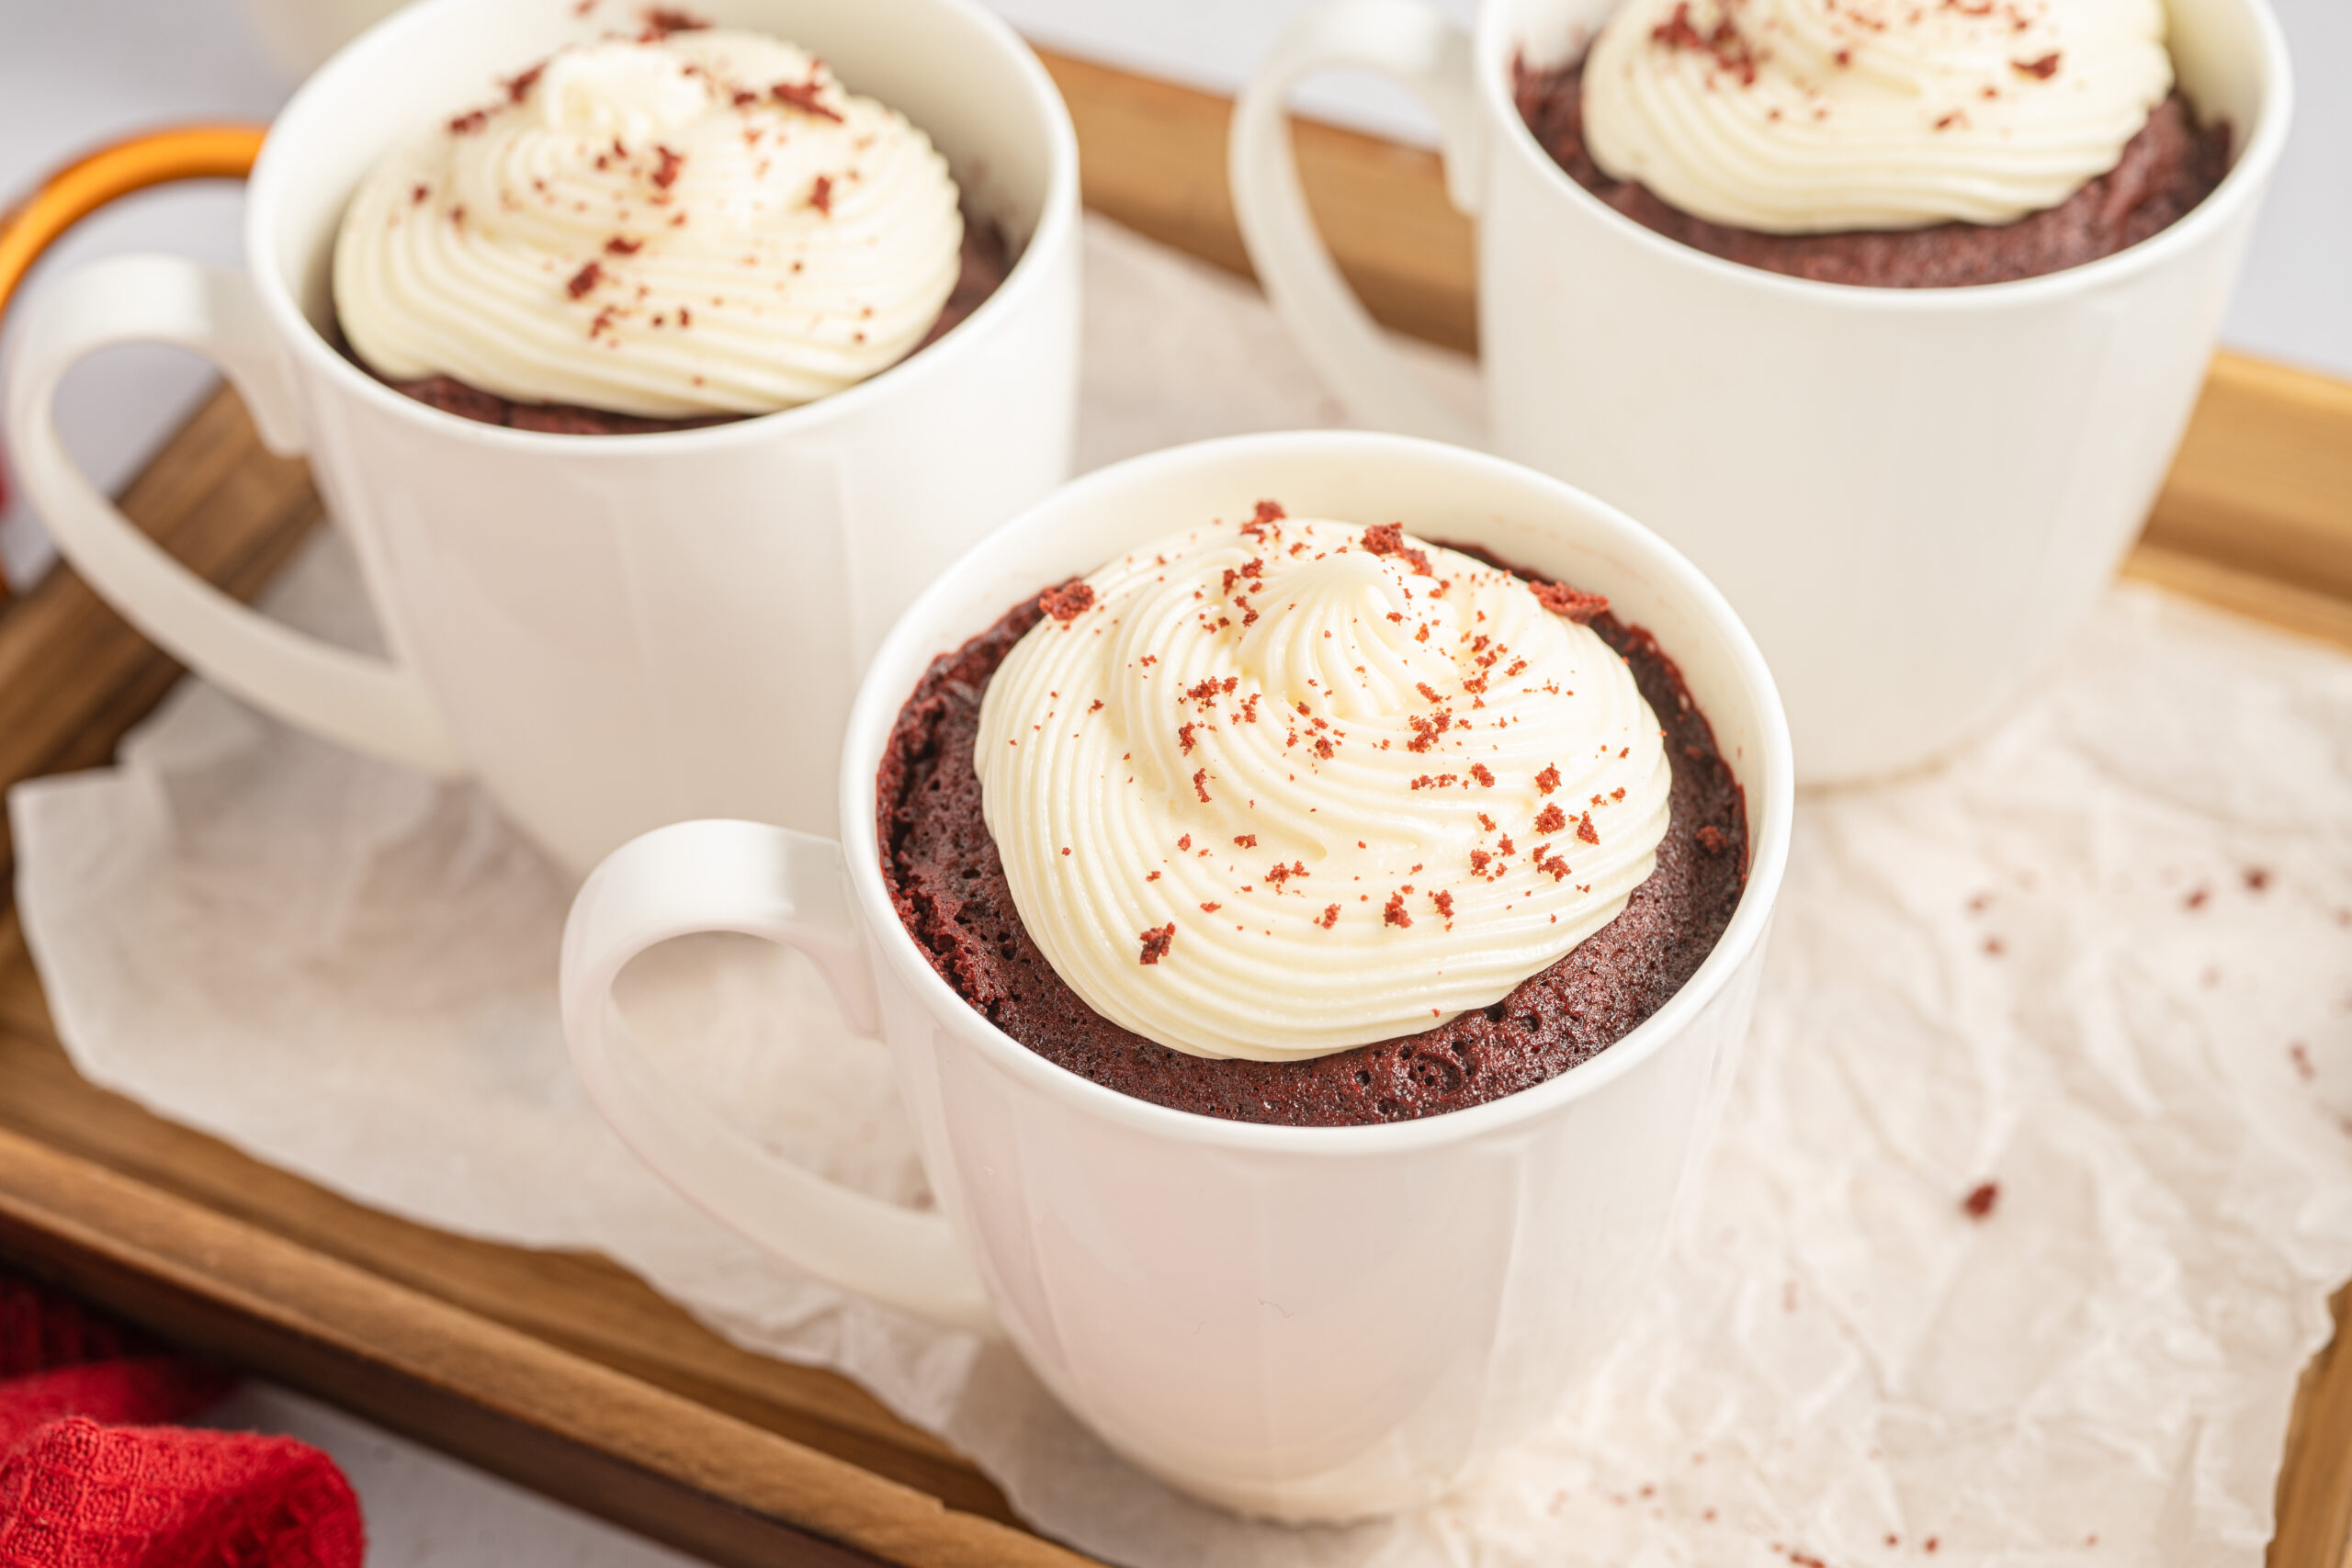
Easy Red Velvet Mug Cake

Moist, chocolatey, and ready in less than 10 minutes! If you are looking for a quick and easy dessert to satisfy those unexpected sweet cravings, look no further than this scrumptious Red Velvet Mug Cake.
You'll need the following ingredients for the Red Velvet Mug Cake:
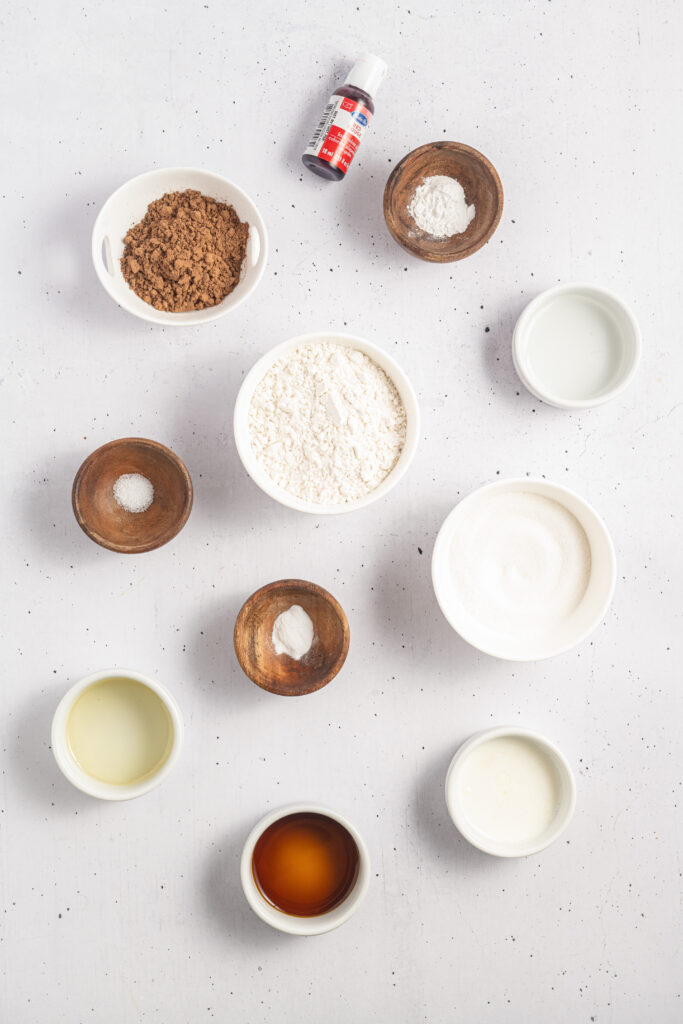
All-purpose flour - A key ingredient for any cake or baked good.
Unsweetened cocoa powder - I used Hershey's Natural Unsweetened Cocoa Powder.
Baking powder - A leavening agent that helps the cake rise as it cooks in the microwave.
Baking soda - Another leavening agent that acts as a leavening agent when combined with the vinegar.
Salt - I used table salt. This will balance out the sweetness, complement the chocolate flavor, and help the cake cook.
Granulated sugar - Adds sweetness.
Oil - I used canola oil, but vegetable oil can be used instead.
Buttermilk - A traditional ingredient for Red Velvet Cake. Adds fat for moisture.
Distilled white vinegar - Essential for a Red Velvet Cake recipe. It reacts with the cocoa powder to turn a red color.
Vanilla extract - Complements the chocolate flavor.
Red gel food coloring - Enhances the red color of the cake. I used red Satin Ice Food Colour Gel from Michaels.
The equipment you'll need for this Red Velvet Mug Cake:
- Medium mixing bowl
- Whisk
- Large mixing bowl
- (1) 12-ounce microwave-safe mug
How to make Red Velvet Mug Cake:
In a small or medium bowl, whisk the flour, cocoa powder, baking powder, baking soda, and salt together. Set aside.

In a separate large bowl, whisk the sugar, oil, buttermilk, vinegar, vanilla, and red food coloring until combined.
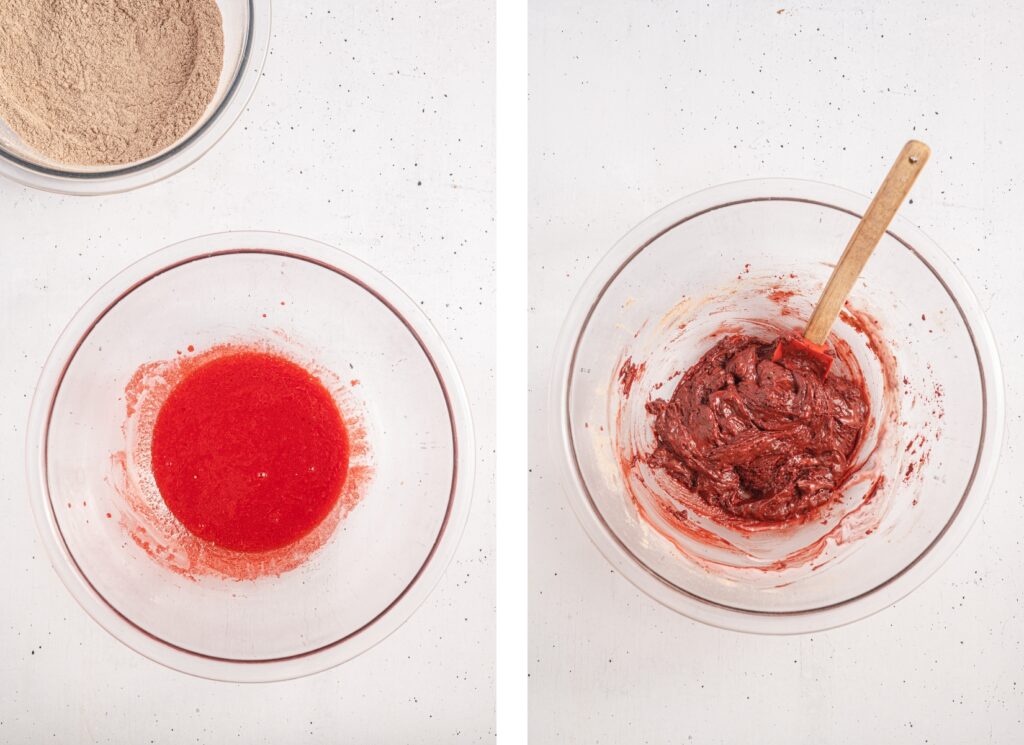
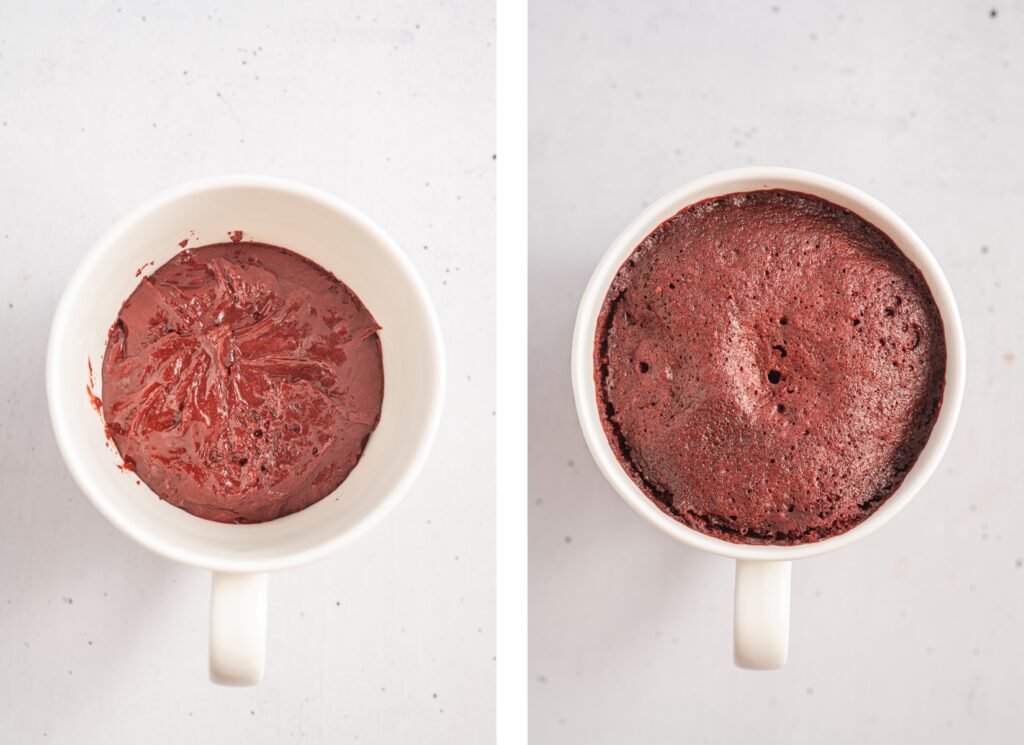
Pour the dry ingredients into the wet ingredients, and mix until the batter is smooth and thick. Carefully spoon the batter into a microwave-safe, 12-ounce mug. It will fill about ⅓ of the cup.
Microwave the cake at high power for 1-2 minutes (depending on the microwave wattage) or until the cake has risen to the top of the mug and a toothpick inserted into the middle comes out clean.
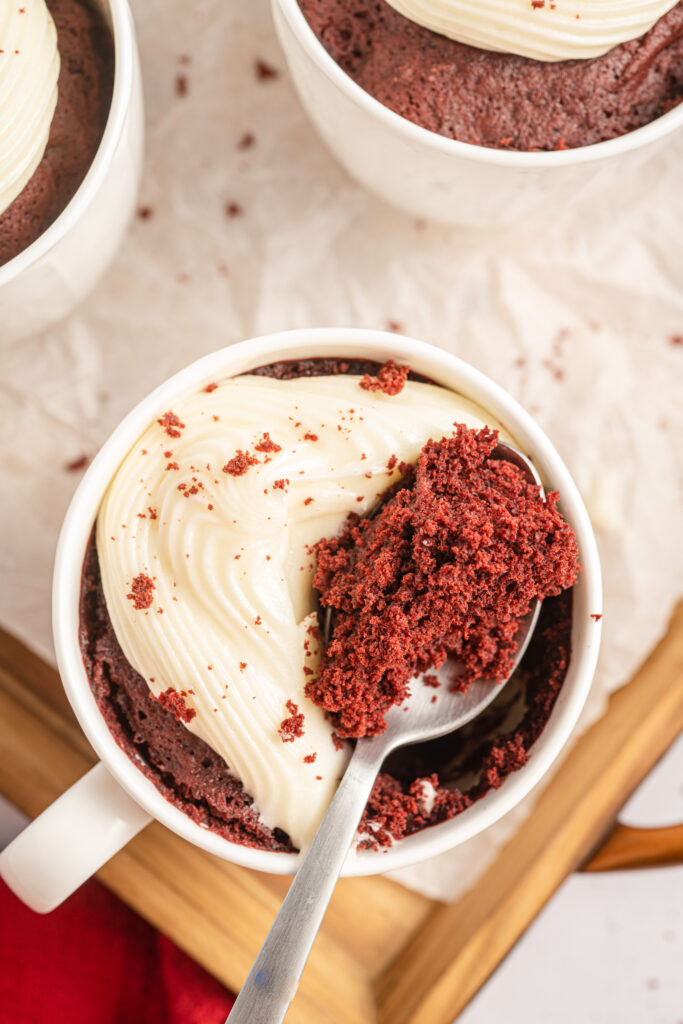
Let the cake rest for five minutes, then top with cream cheese frosting, if desired, and enjoy warm.

Are there any substitutes I can use when making Red Velvet Mug Cake?
Sure!
- No buttermilk? Mix ¼ teaspoon of vinegar with 3 tablespoons of regular milk.
- You can use vegetable or canola oil.
- The red food coloring is optional, but it will give the cake more of the classic red velvet color.
How many servings does this recipe make?
This recipe will make one red velvet mug cake.
What's the serving temperature?
You can enjoy this treat warm, room temperature, or chilled.
Is it possible to store this mug cake to enjoy later?
You certainly can! I think this dessert is best when it is made fresh, but you can hold onto it for later.
- Counter: Cover the mug with plastic wrap and store it on the counter for 2 days. Reheat in the microwave for 20 to 30 seconds before serving to soften the cake, if desired.
- Refrigerator: Cover the mugs tightly with plastic wrap, and store them in the fridge for up to 4 days. Reheat in the microwave for 30 seconds or until the cake is warm, or enjoy it chilled.
- Freezer: Cover the mugs tightly with both plastic wrap and foil, to prevent freezer burn, and store in the freezer for up to 3 months. Thaw overnight in the fridge, then reheat the cake in the microwave for 30 seconds or until it is warm.
Tips for a Successful Red Velvet Mug Cake!
- This is best served fresh and warm. Cooler mug cakes are drier and stiffer.
- Double or triple the recipe and divide it between mugs to serve multiple people.
- For smaller mugs (6 or 8 ounces) cut the recipe in half. Otherwise, it will overflow out of the mug.
- This cake can be enjoyed on its own or topped with white chocolate chips, cream cheese frosting, or ice cream. I used store-bought cream cheese frosting, or you can make your own.
- Because there are no eggs to serve as a binder, mug cakes are more crumbly than regular cakes.
- I used a 700-watt microwave, and the cake was done after 2 minutes. A higher-wattage microwave may only take 1 minute to cook, so make sure to check which microwave you have.

Red Velvet Mug Cake
Equipment
- 1 Medium mixing bowl
- 1 Whisk
- 1 Large mixing bowl
- 1 (12-ounce) mug microwave-safe
Ingredients
- ½ cup all-purpose flour
- 1 tablespoon unsweetened cocoa powder
- ½ teaspoon baking powder
- ¼ teaspoon baking soda
- ⅛ teaspoon salt
- 3 tablespoons granulated sugar
- 1 ½ tablespoons oil
- 3 tablespoons buttermilk
- ½ teaspoon distilled white vinegar
- ½ teaspoon vanilla extract
- ¼ teaspoon red gel food coloring optional
Instructions
- In a small or medium bowl, whisk the flour, cocoa powder, baking powder, baking soda, and salt together. Set aside.
- In a separate large bowl, whisk the sugar, oil, buttermilk, vinegar, vanilla, and red food coloring until combined.
- Pour the dry ingredients into the wet ingredients, and mix until the batter is smooth and thick. Carefully spoon the batter into a microwave-safe, 12-ounce mug. It will fill about ⅓ of the cup.
- Microwave the cake at high power for 1-2 minutes (depending on the microwave wattage) or until the cake has risen to the top of the mug and a toothpick inserted into the middle comes out clean.
- Let the cake rest for five minutes, then top with cream cheese frosting, if desired, and enjoy warm.
Notes
- This is best served fresh and warm. Cooler mug cakes are drier and stiffer.
- Double or triple the recipe and divide it between mugs to serve multiple people.
- For smaller mugs (6 or 8 ounces) cut the recipe in half. Otherwise, it will overflow out of the mug.
- This cake can be enjoyed on its own or topped with white chocolate chips, cream cheese frosting, or ice cream. I used store-bought cream cheese frosting, or you can make your own.
- Because there are no eggs to serve as a binder, mug cakes are more crumbly than regular cakes.
- I used a 700-watt microwave, and the cake was done after 2 minutes. A higher-wattage microwave may only take 1 minute to cook, so make sure to check which microwave you have.